Introduction
This guide provides step-by-step instructions for deploying a service on Azure using the Azure Marketplace.1
Login to Azure Portal
URL: https://portal.azure.com.
2
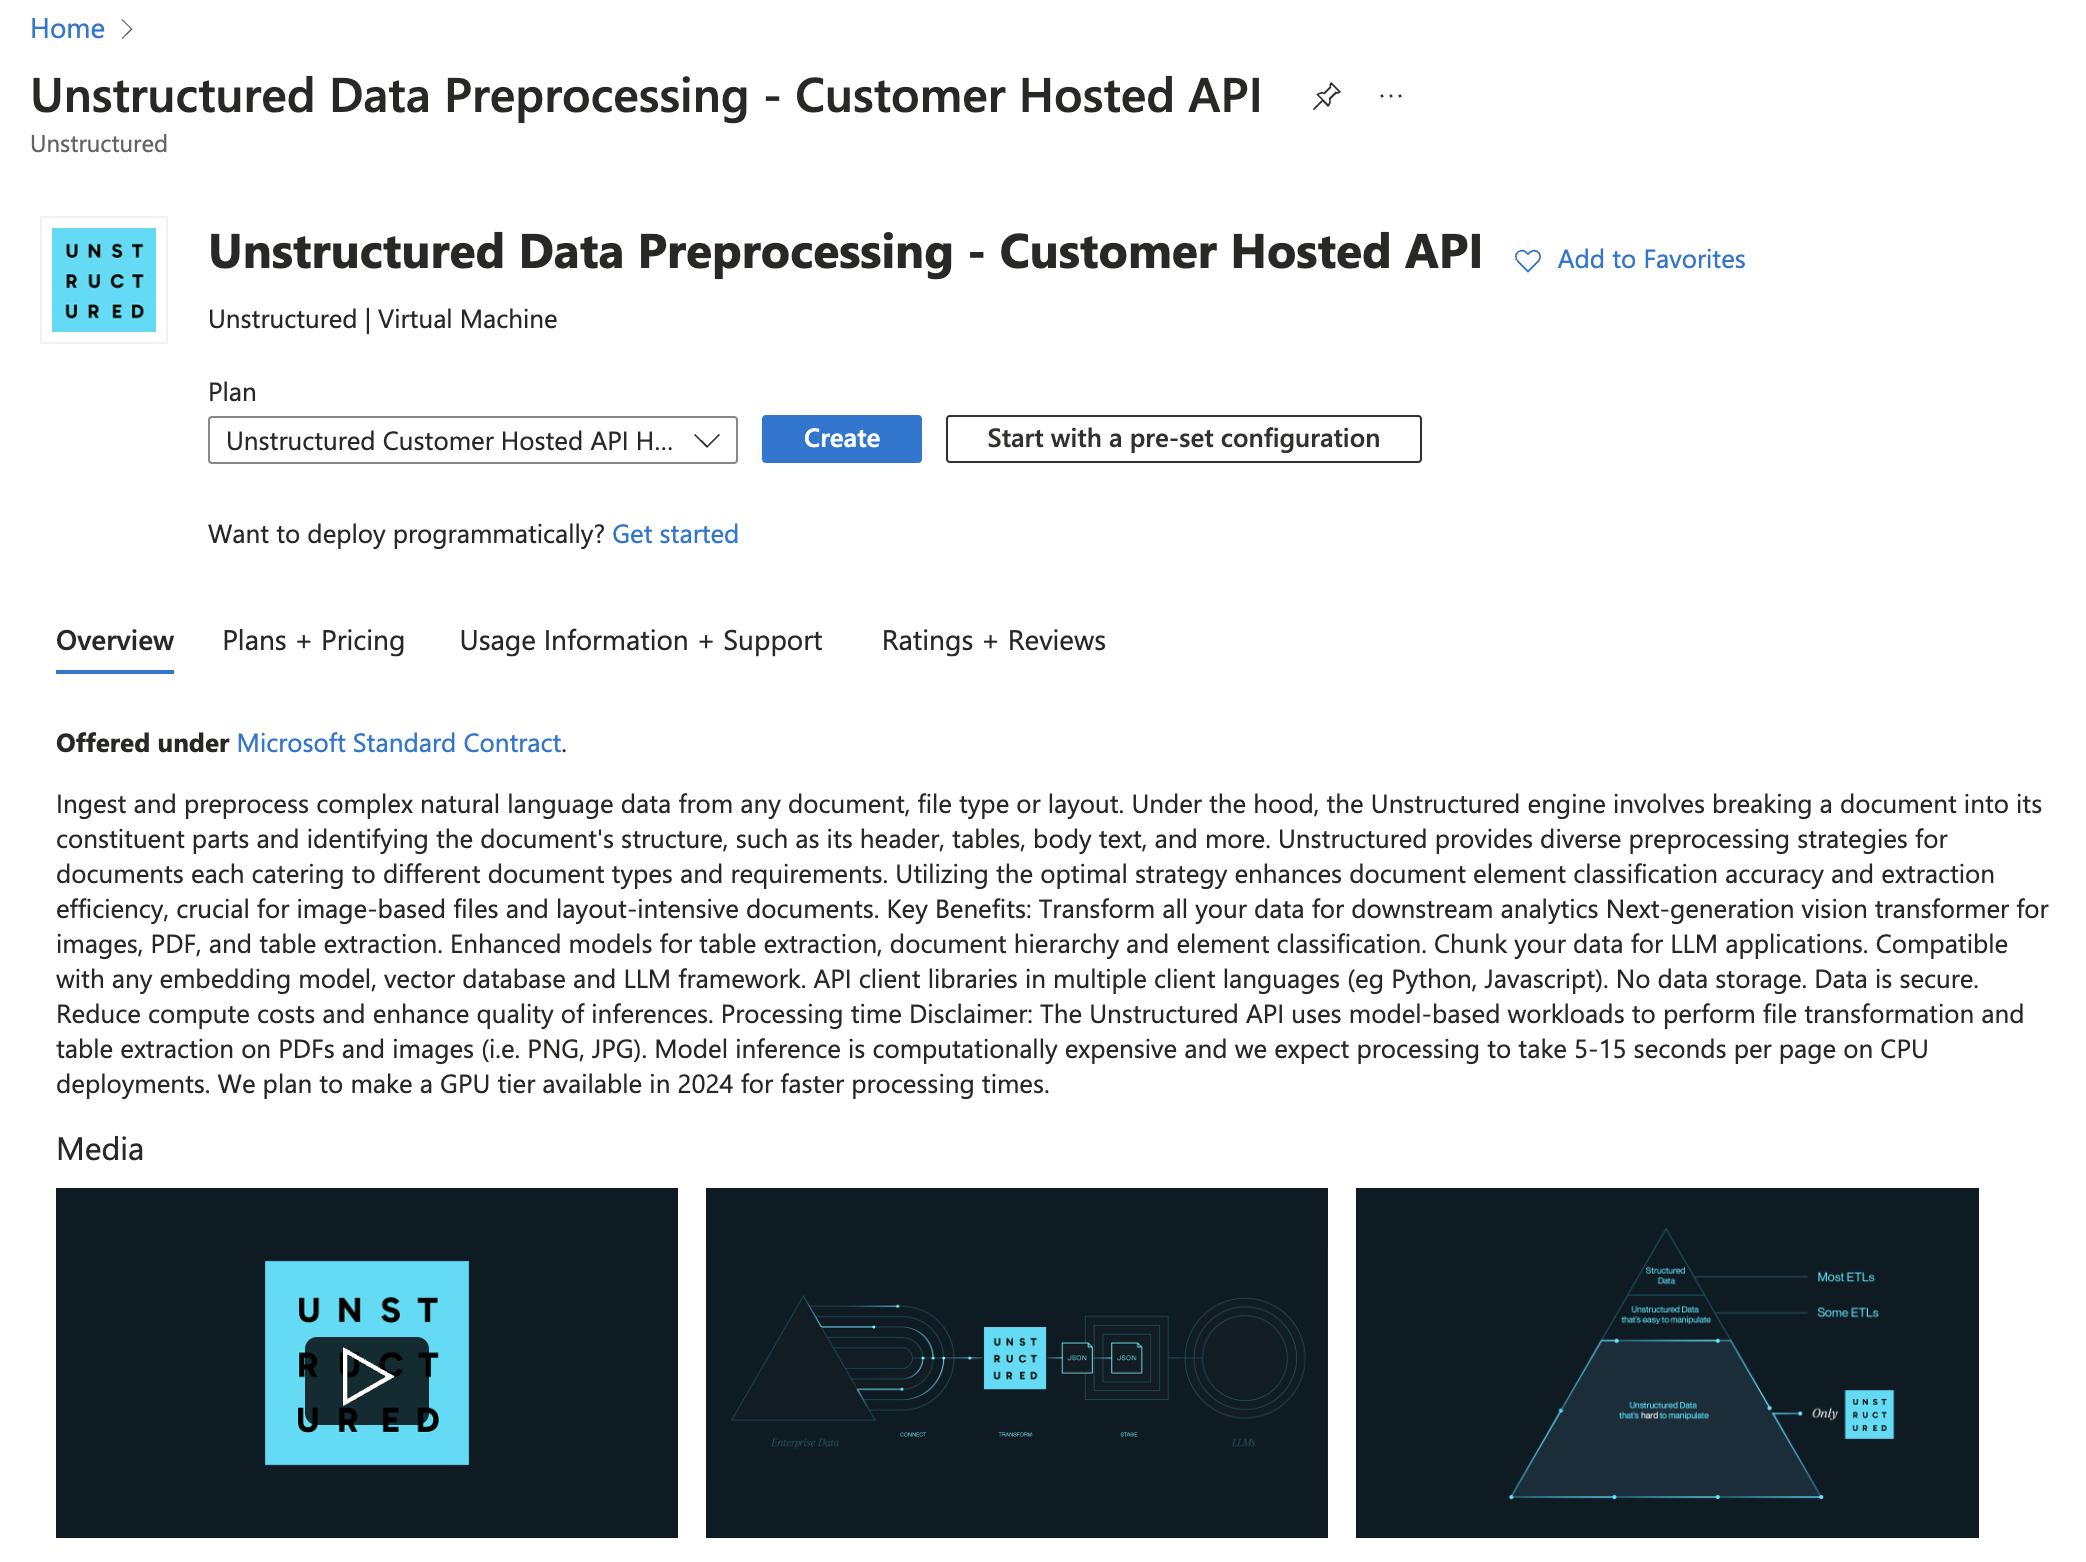
Access Azure Marketplace
Navigate to the Azure Marketplace using this URL.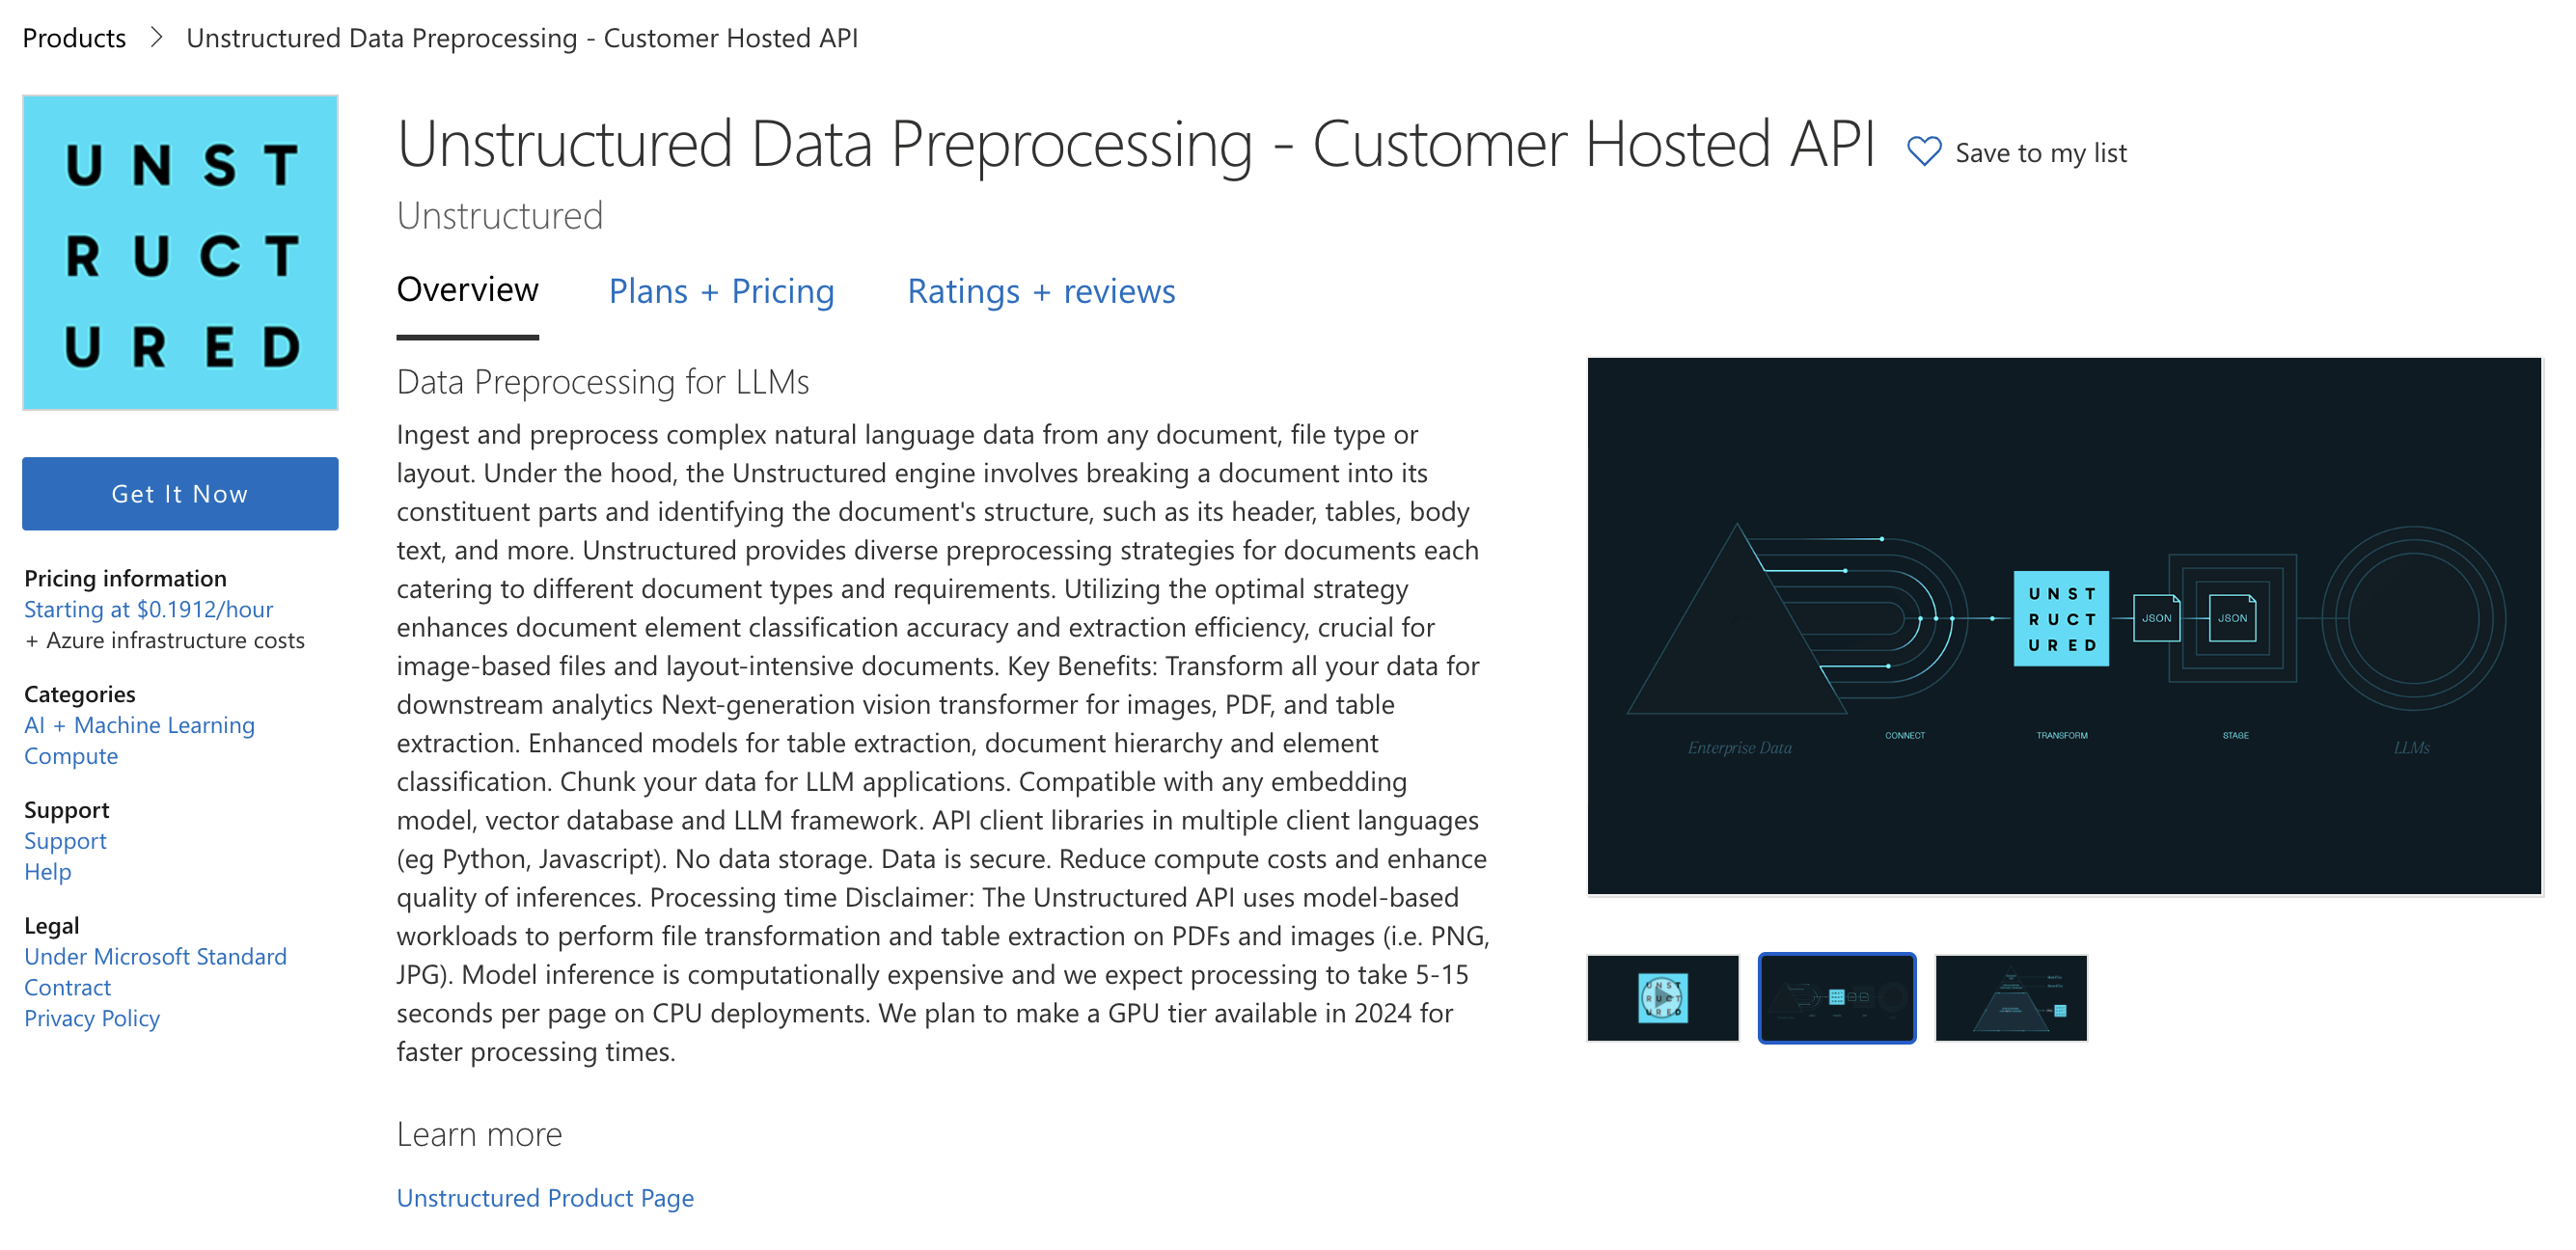
3
Start Deployment Process
- Click the Get it Now button and fill out the form.
- Read the Terms and click Continue.
- Click Create button.
4
Configure Deployment Options
On the Create a virtual machine page, go to Basics tab and follow the steps below.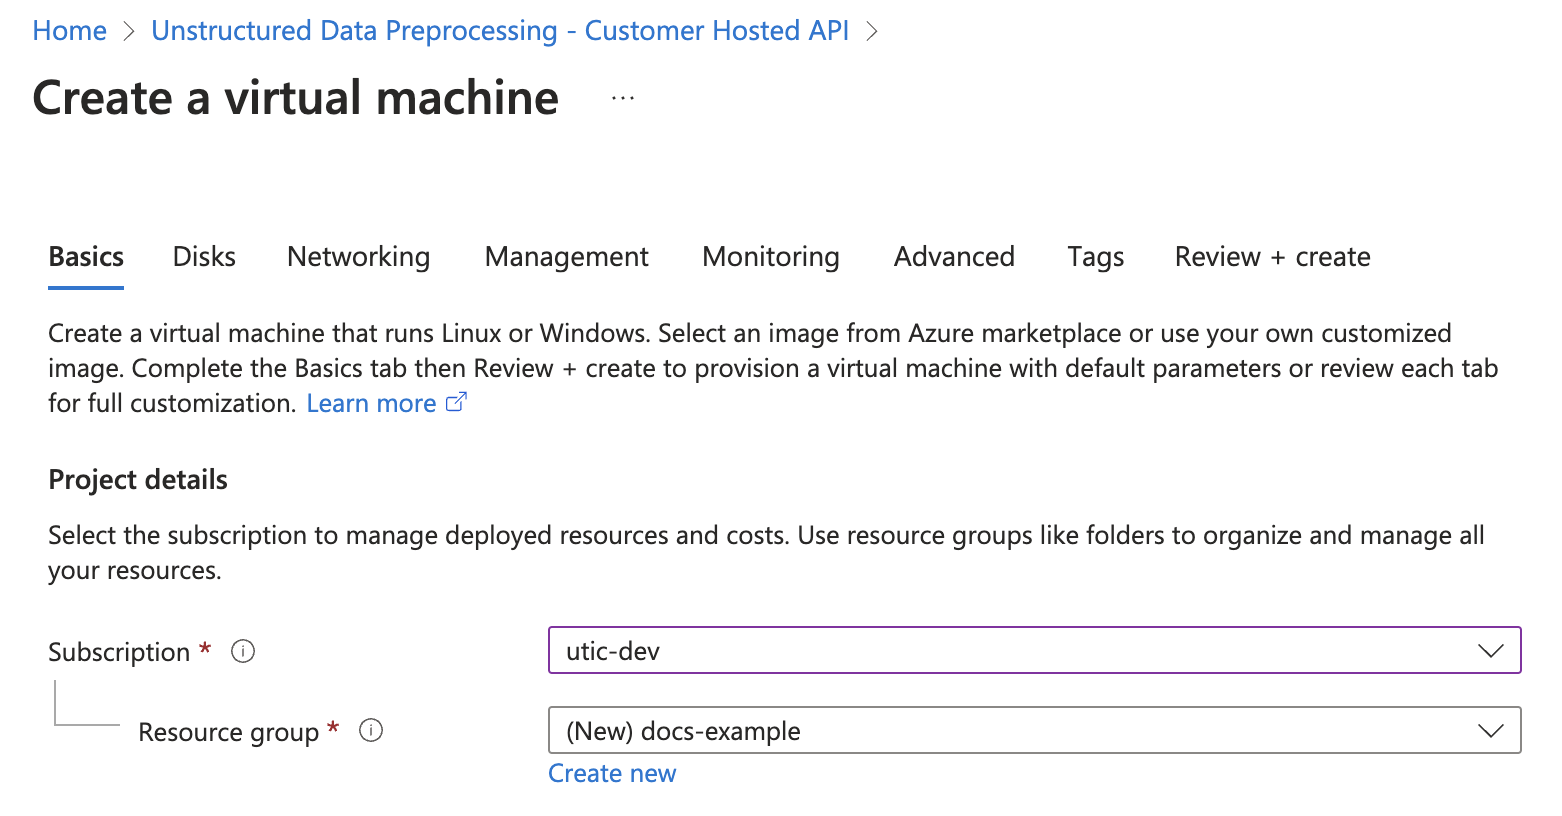
-
Project details
- Select Subscription and Resource group from dropdown menu.
-
Or, you can also
Create Newresource group.
-
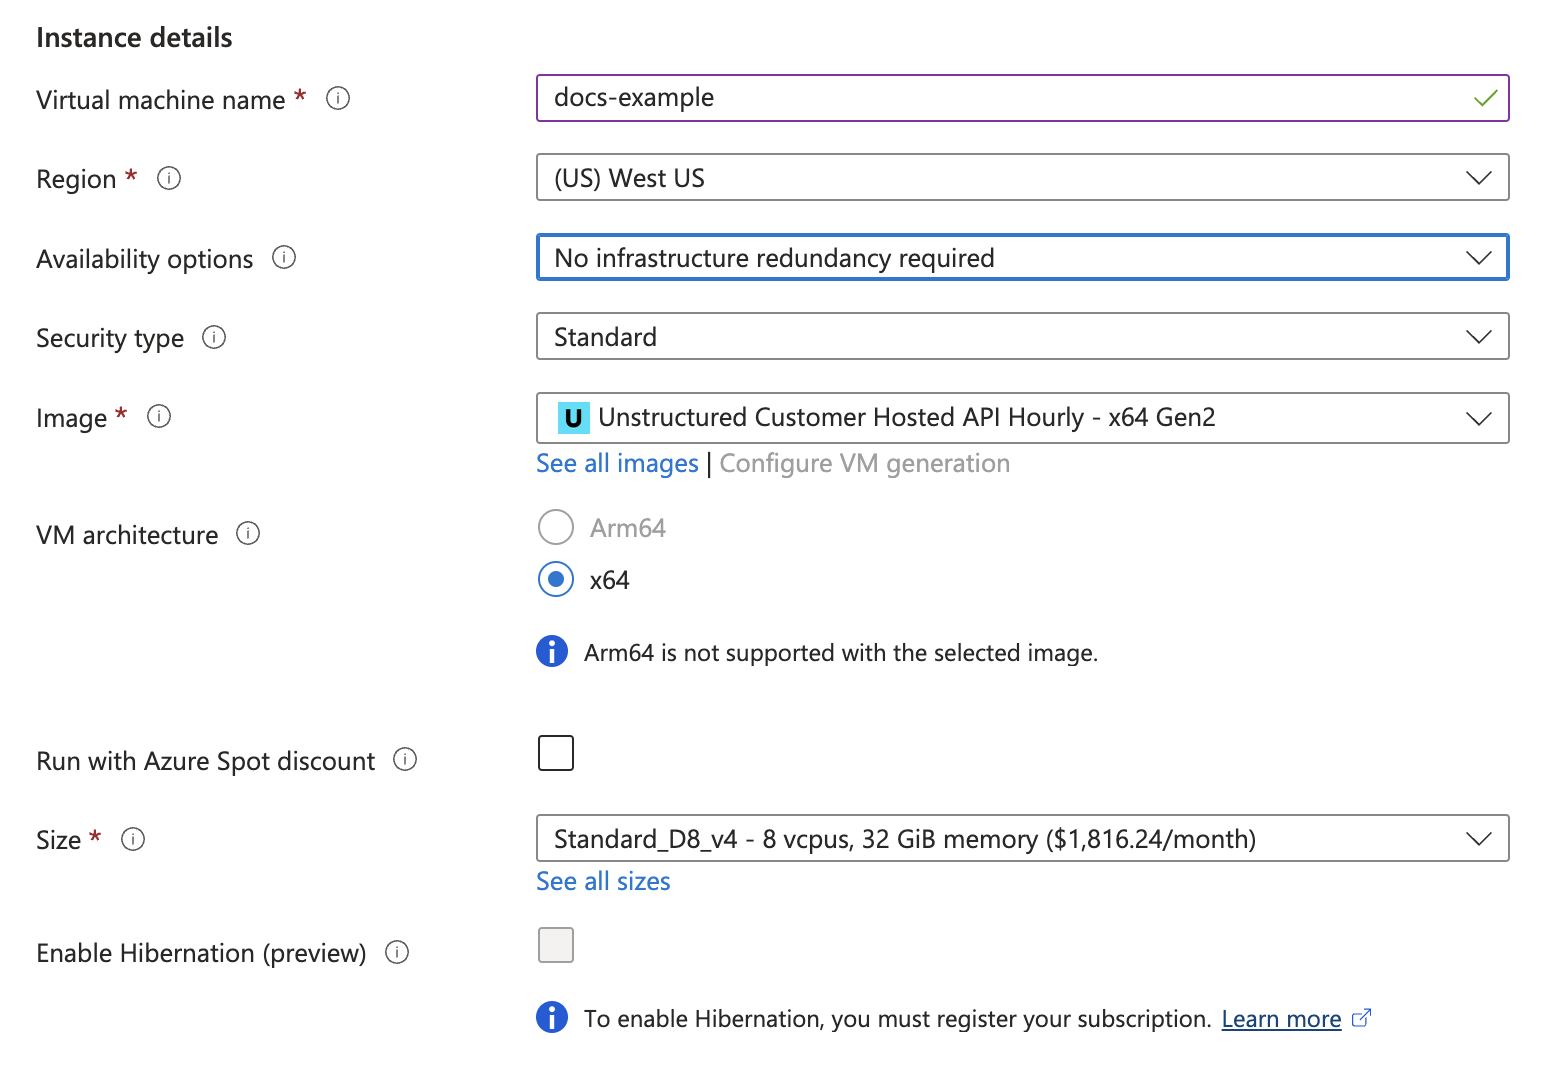
Instance details
- Provide a name in the Virtual machine name field.
- Select a Region from the dropdown menu.
-
Image: Select
Unstructured Customer Hosted API Hourly - x64 Gen2(default) - Size: Select VM size from dropdown menu. Refer to this page for Azure VM comparisons
-
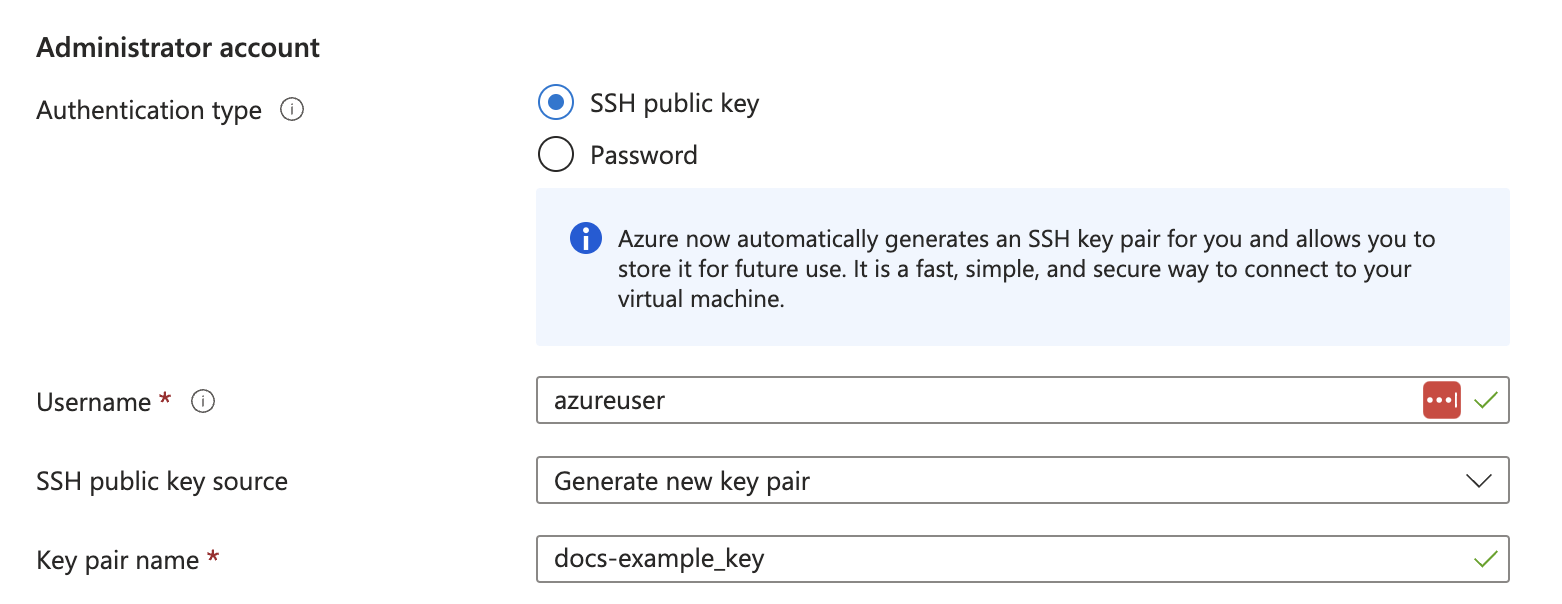
Administrator account
-
Authentication type: Select
PasswordorSSH public key. -
Enter the
credentials.
-
Authentication type: Select
5
Set Up Load Balancer
Before you click 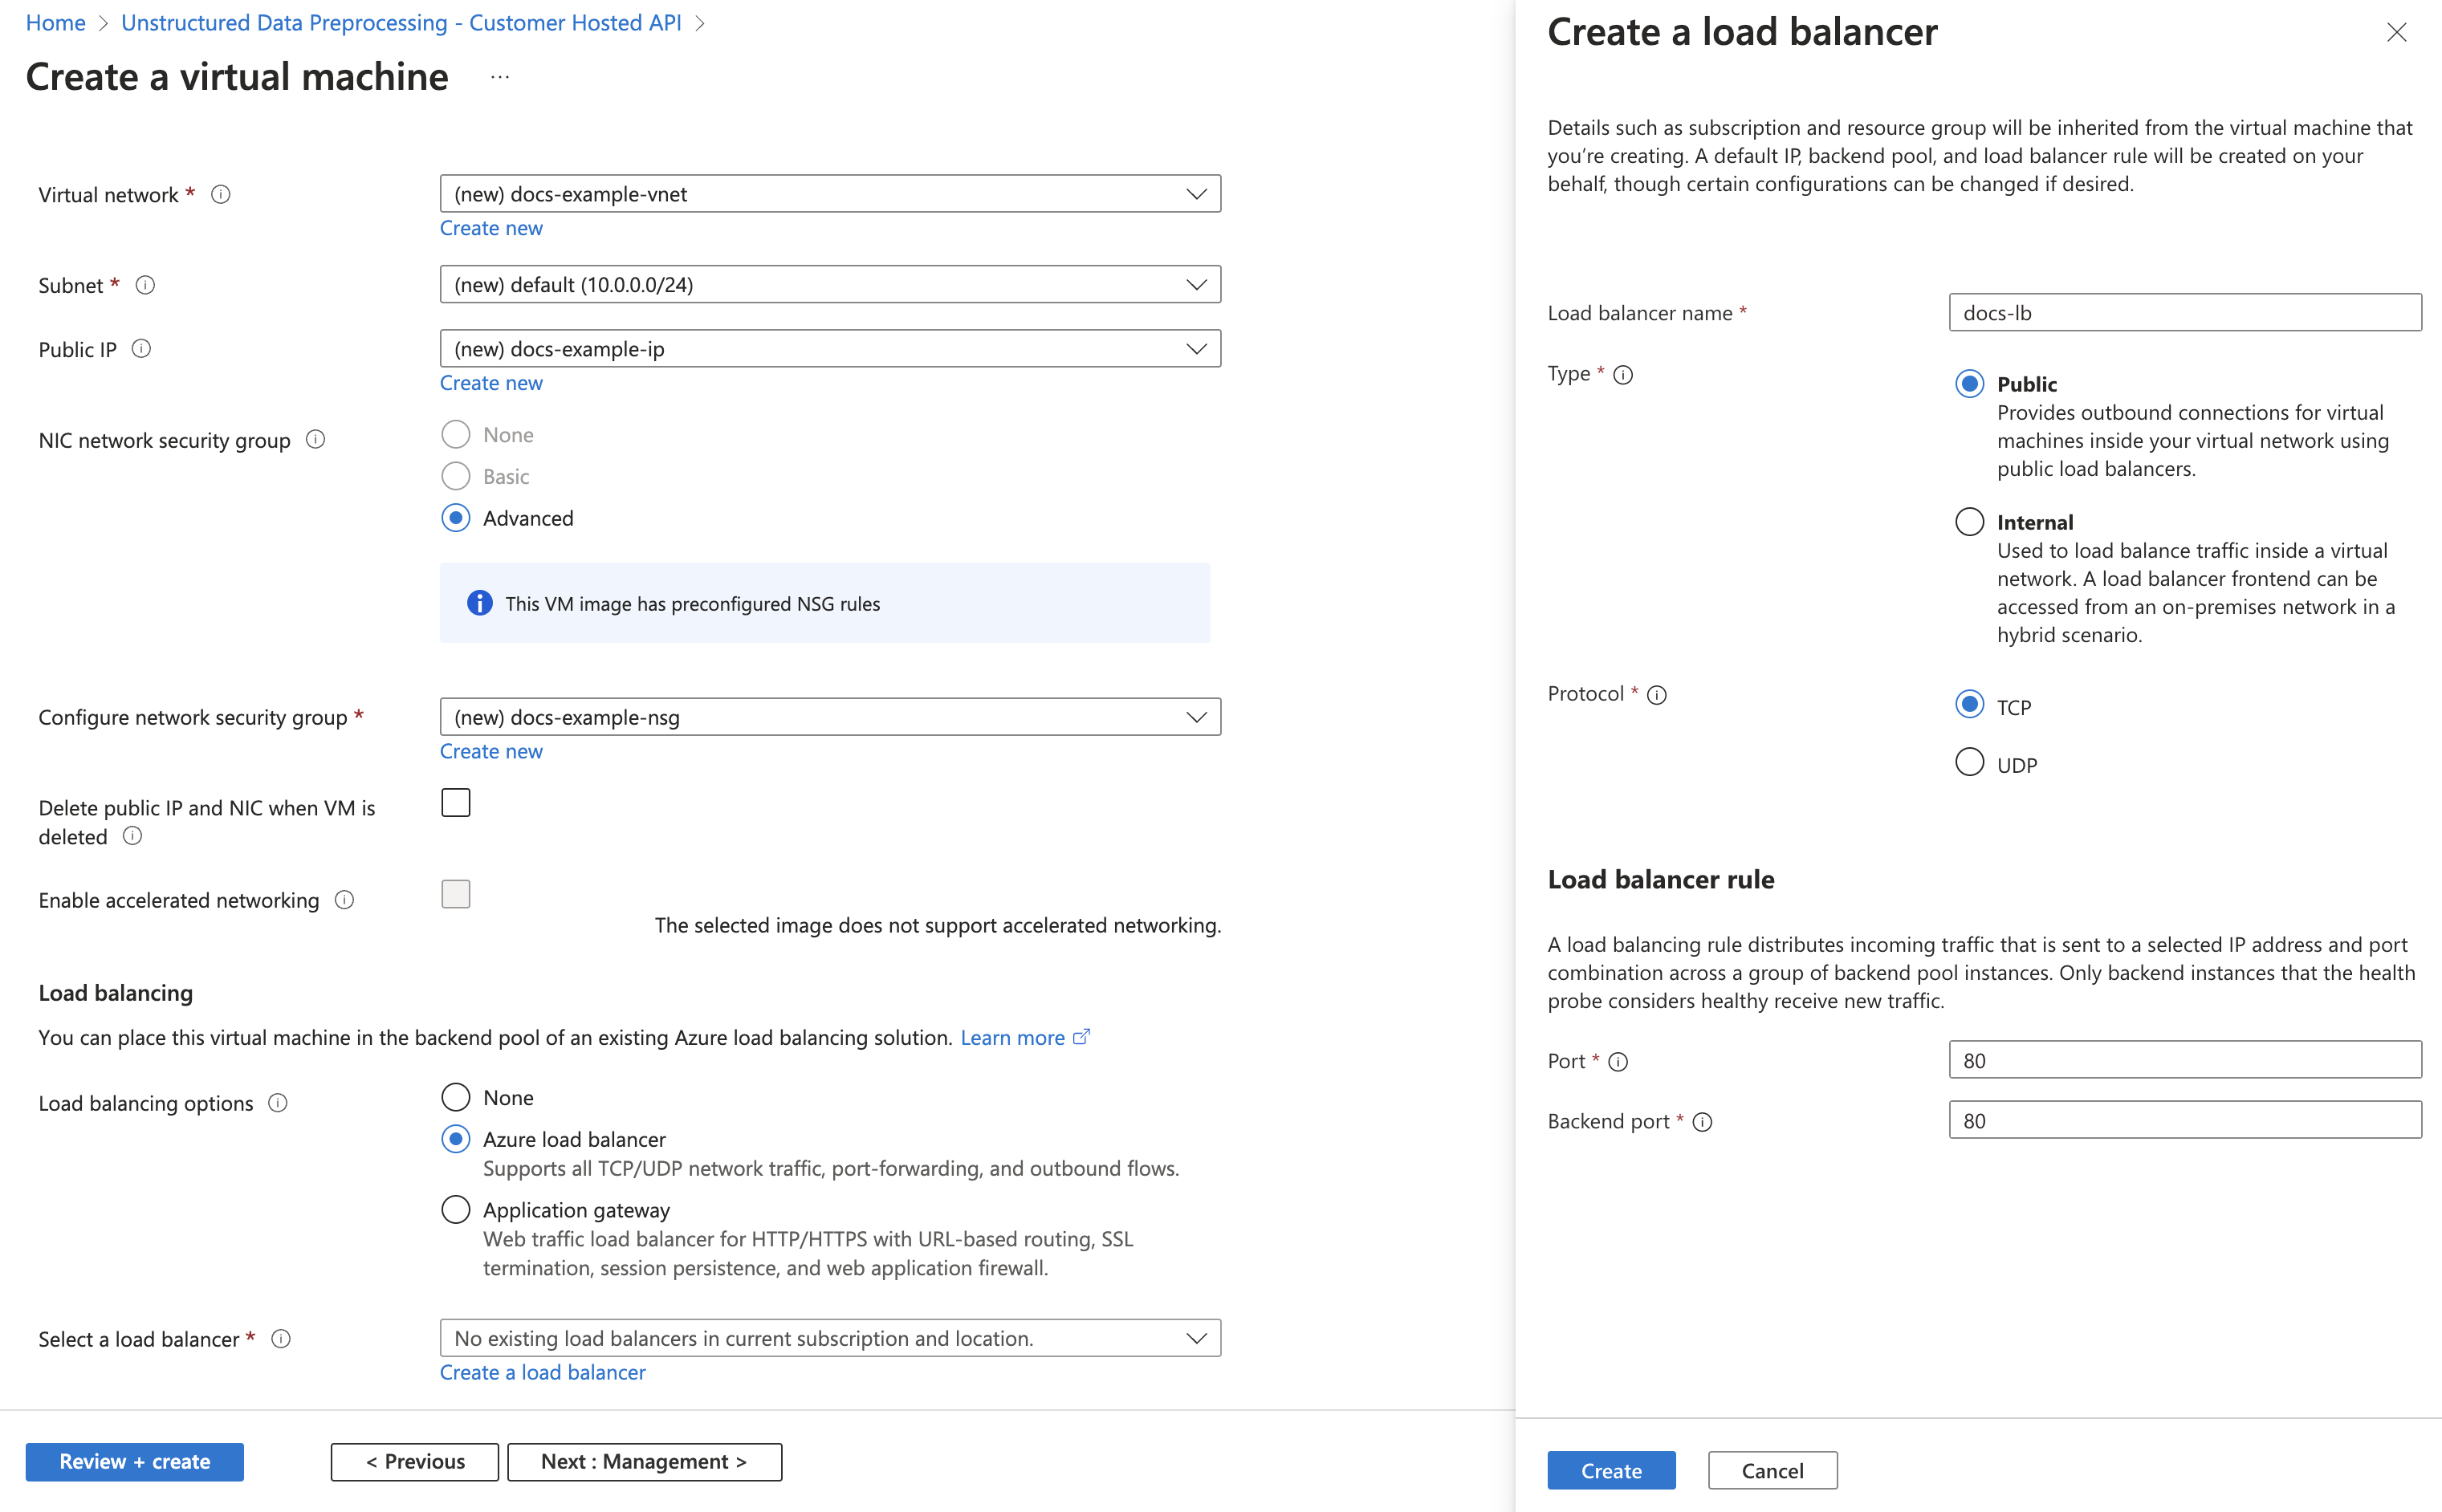
Review + create button, go to Networking tab and follow the steps below.-
Networking interface (required fields)
-
Virtual network: Click
Create newlink or select aVirtual networkfrom dropdown menu, if you have created one. Refer to Quickstart: Use the Azure portal to create a virtual network. -
Subnet: Click
Manage subnet configurationlink or select a subnet from dropdown menu, if you have created one. Refer to Add, change, or delete a virtual network subnet -
Configure network security group: Click
Create newlink or select a security group from dropdown menu, if you have created one. Refer to Create, change, or delete a network security group.
-
Virtual network: Click
-
Load balancing
-
Load balancing option: Select
Azure load balancer -
Select a load balancer: If you have created a load balancer, select from dropdown menu, or click
Create a load balancerand fill out the following fields in the pop-up window.- Enter Load balancer name
-
Type: Select
PublicorInternal -
Protococl: Select
TCPorUDP -
Port and Backend Port: Set to
port 80
-
Load balancing option: Select
6
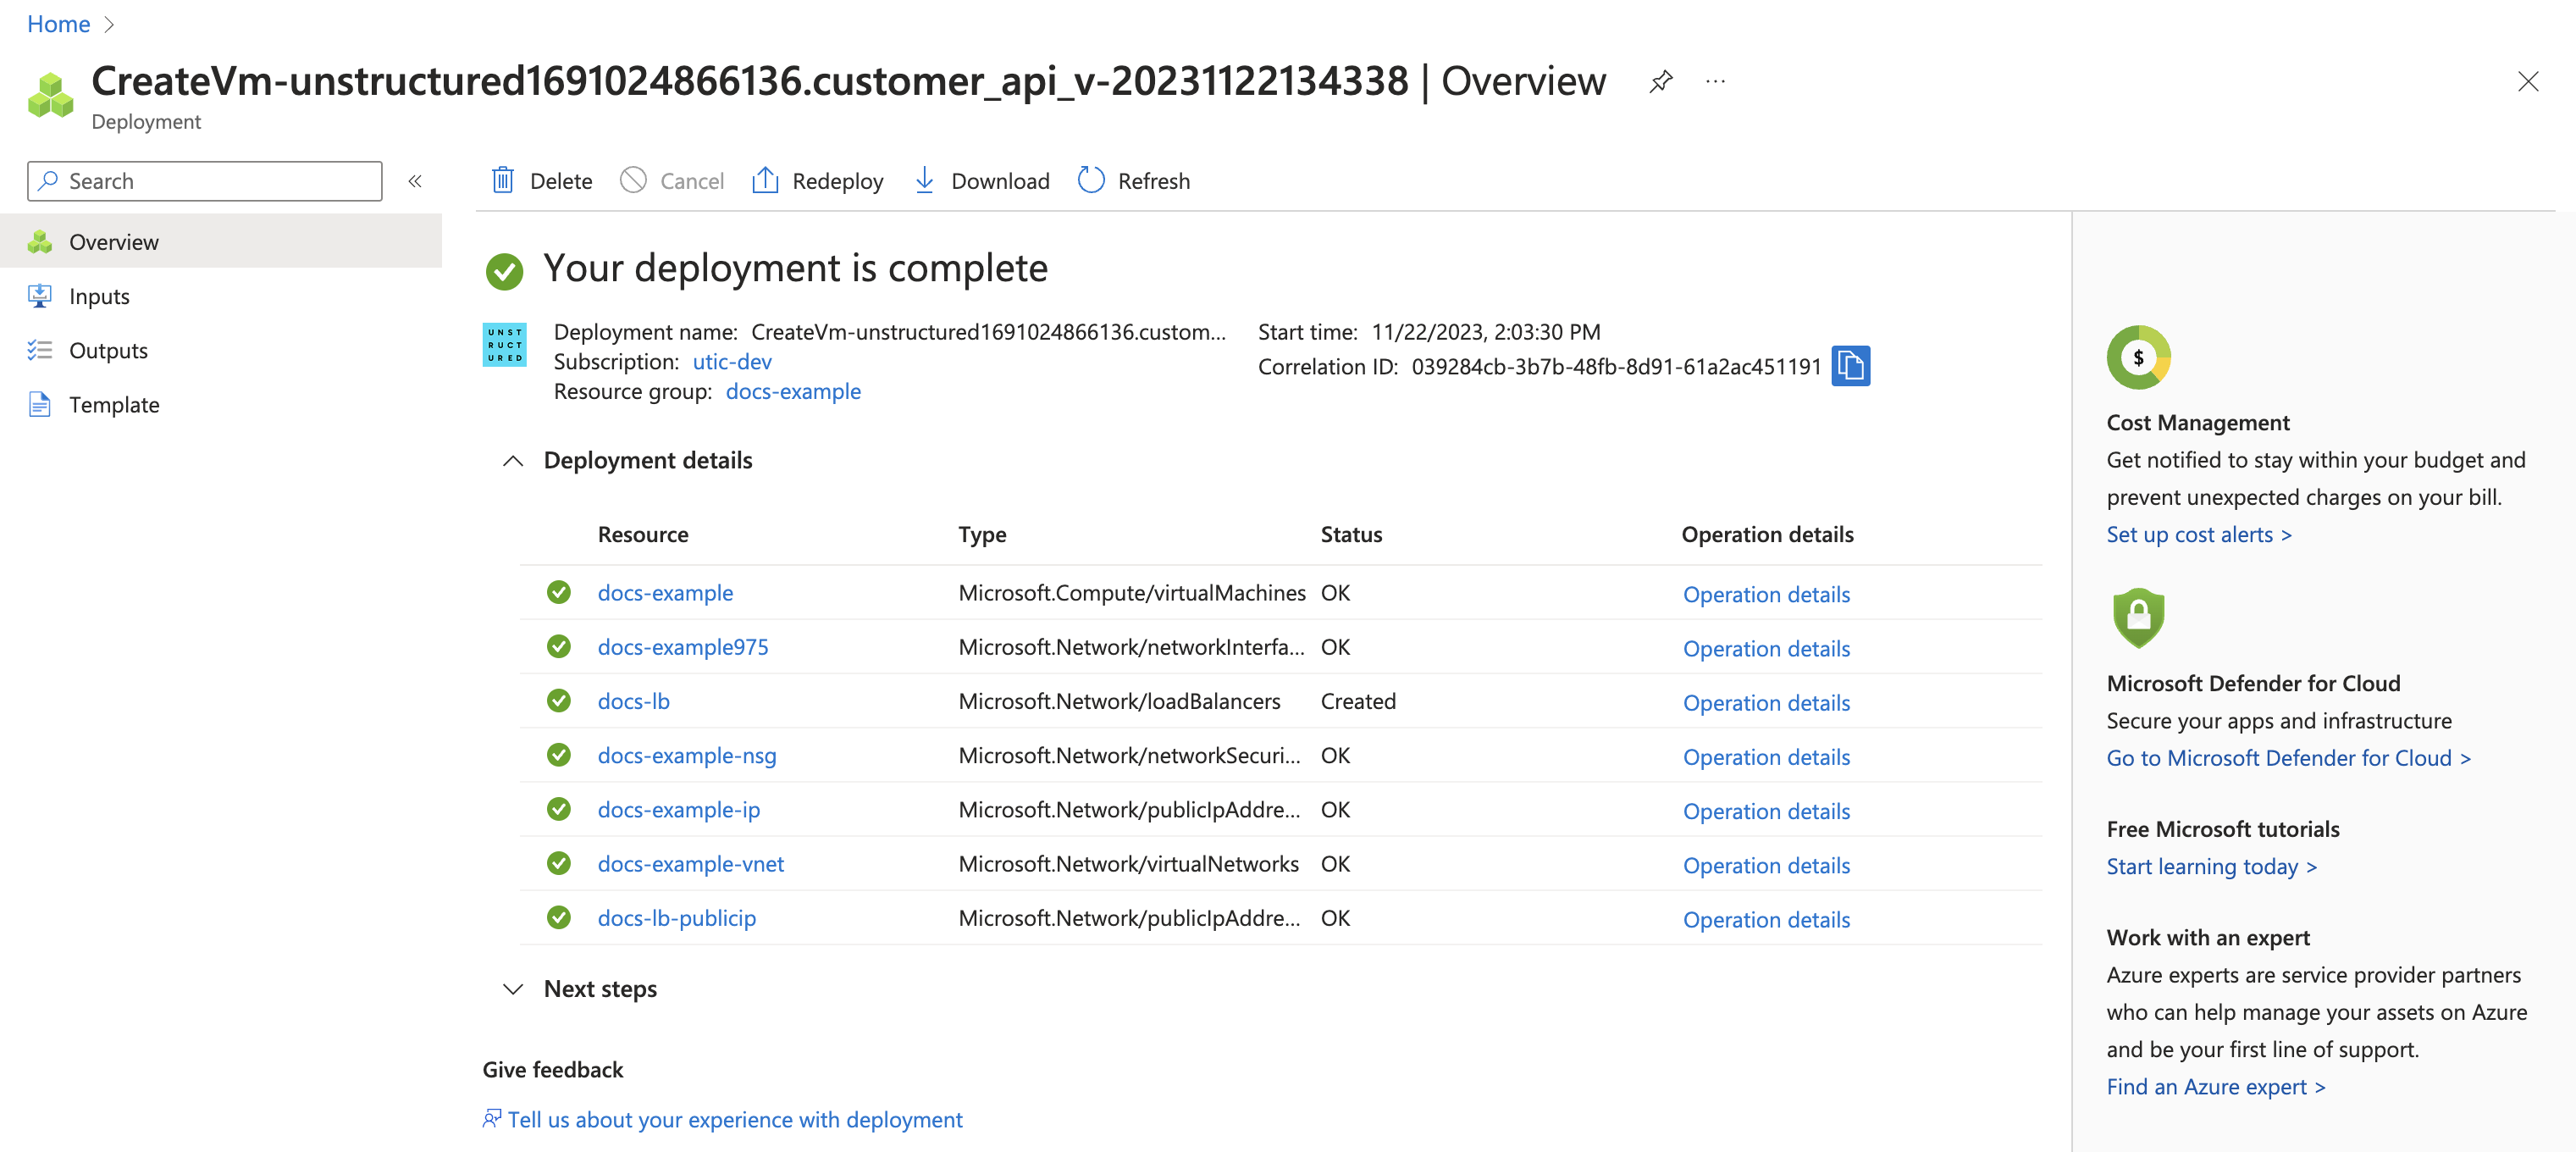
Finalize and Deploy
- Click Review + Create.
- Wait for validation.
- Click Create.
7
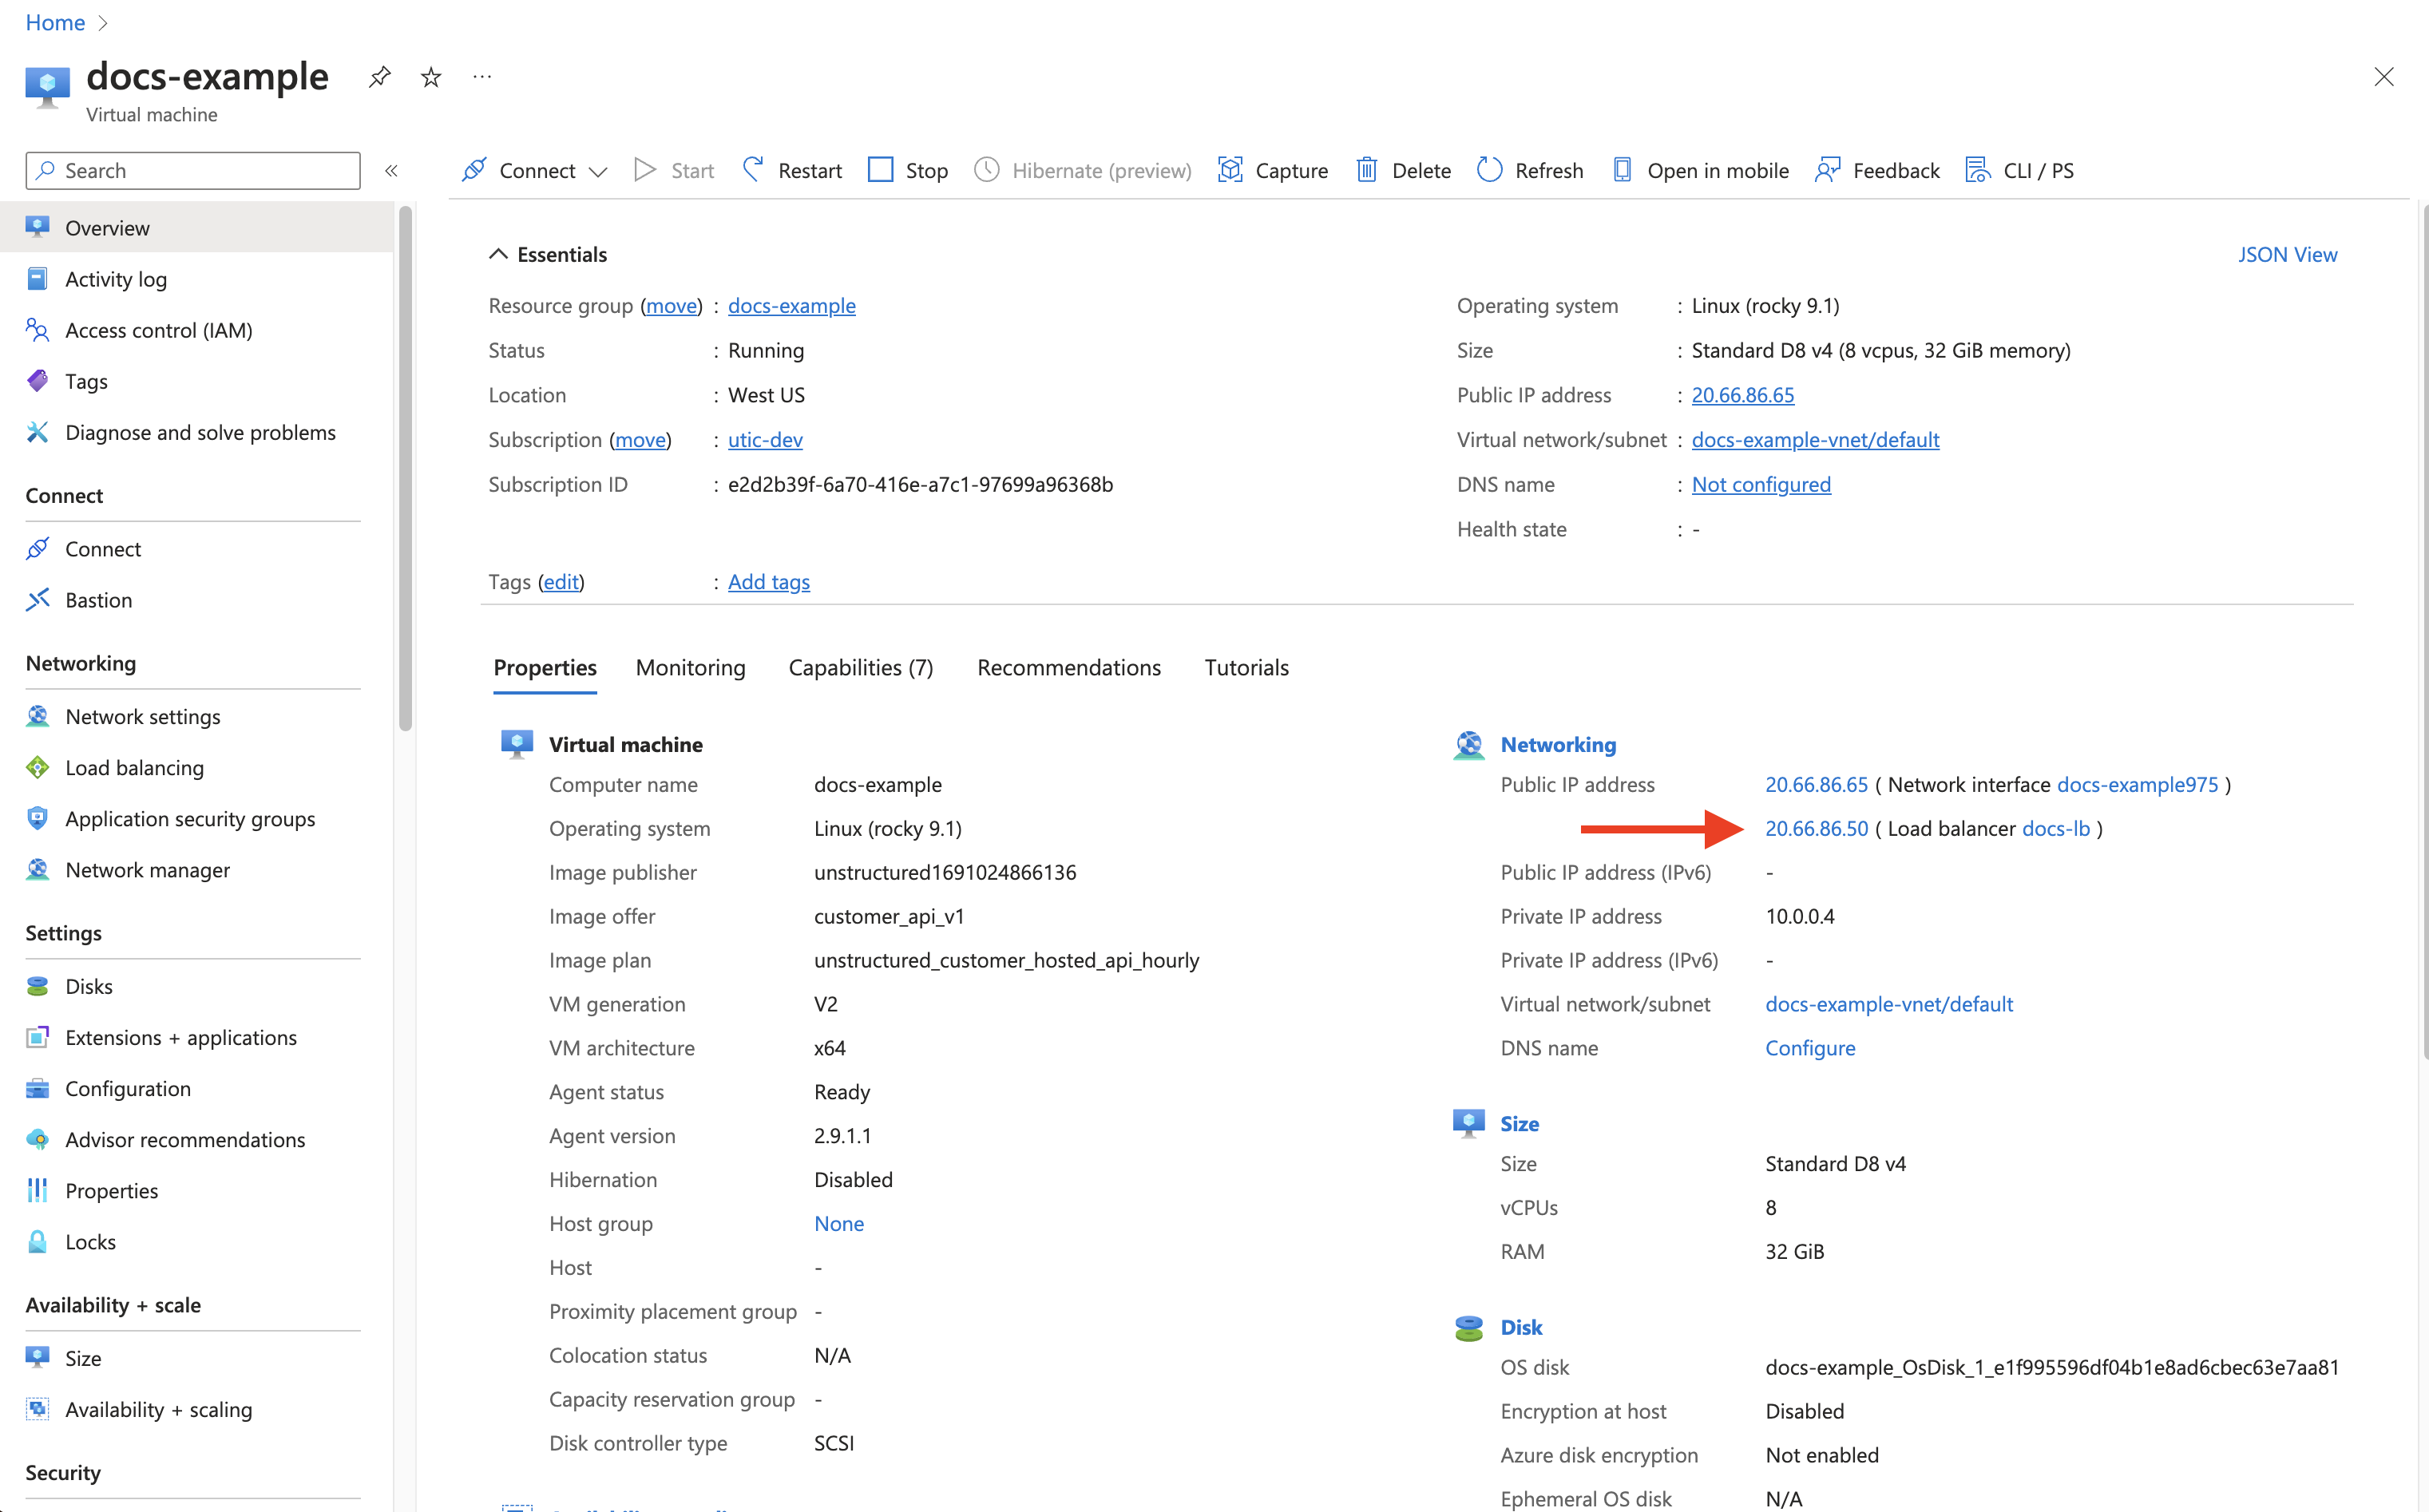
Post-Deployment Steps
- Go to the Virtual Machine from Azure console.
- Retrieve the Load balancer public IP address
- The deployed endpoint is http://<load-balancer-public-IP-address>/general/v0/general
8
Verification and Testing
- Navigate to the public IP with the specified path for documentation and API testing.
- Perform API testing with curl commands.
