Prerequisites
- Weaviate Local Install or Cloud Service
- Weaviate URL and Class Name
- Authentication Credentials (if required)
Step-by-Step Guide
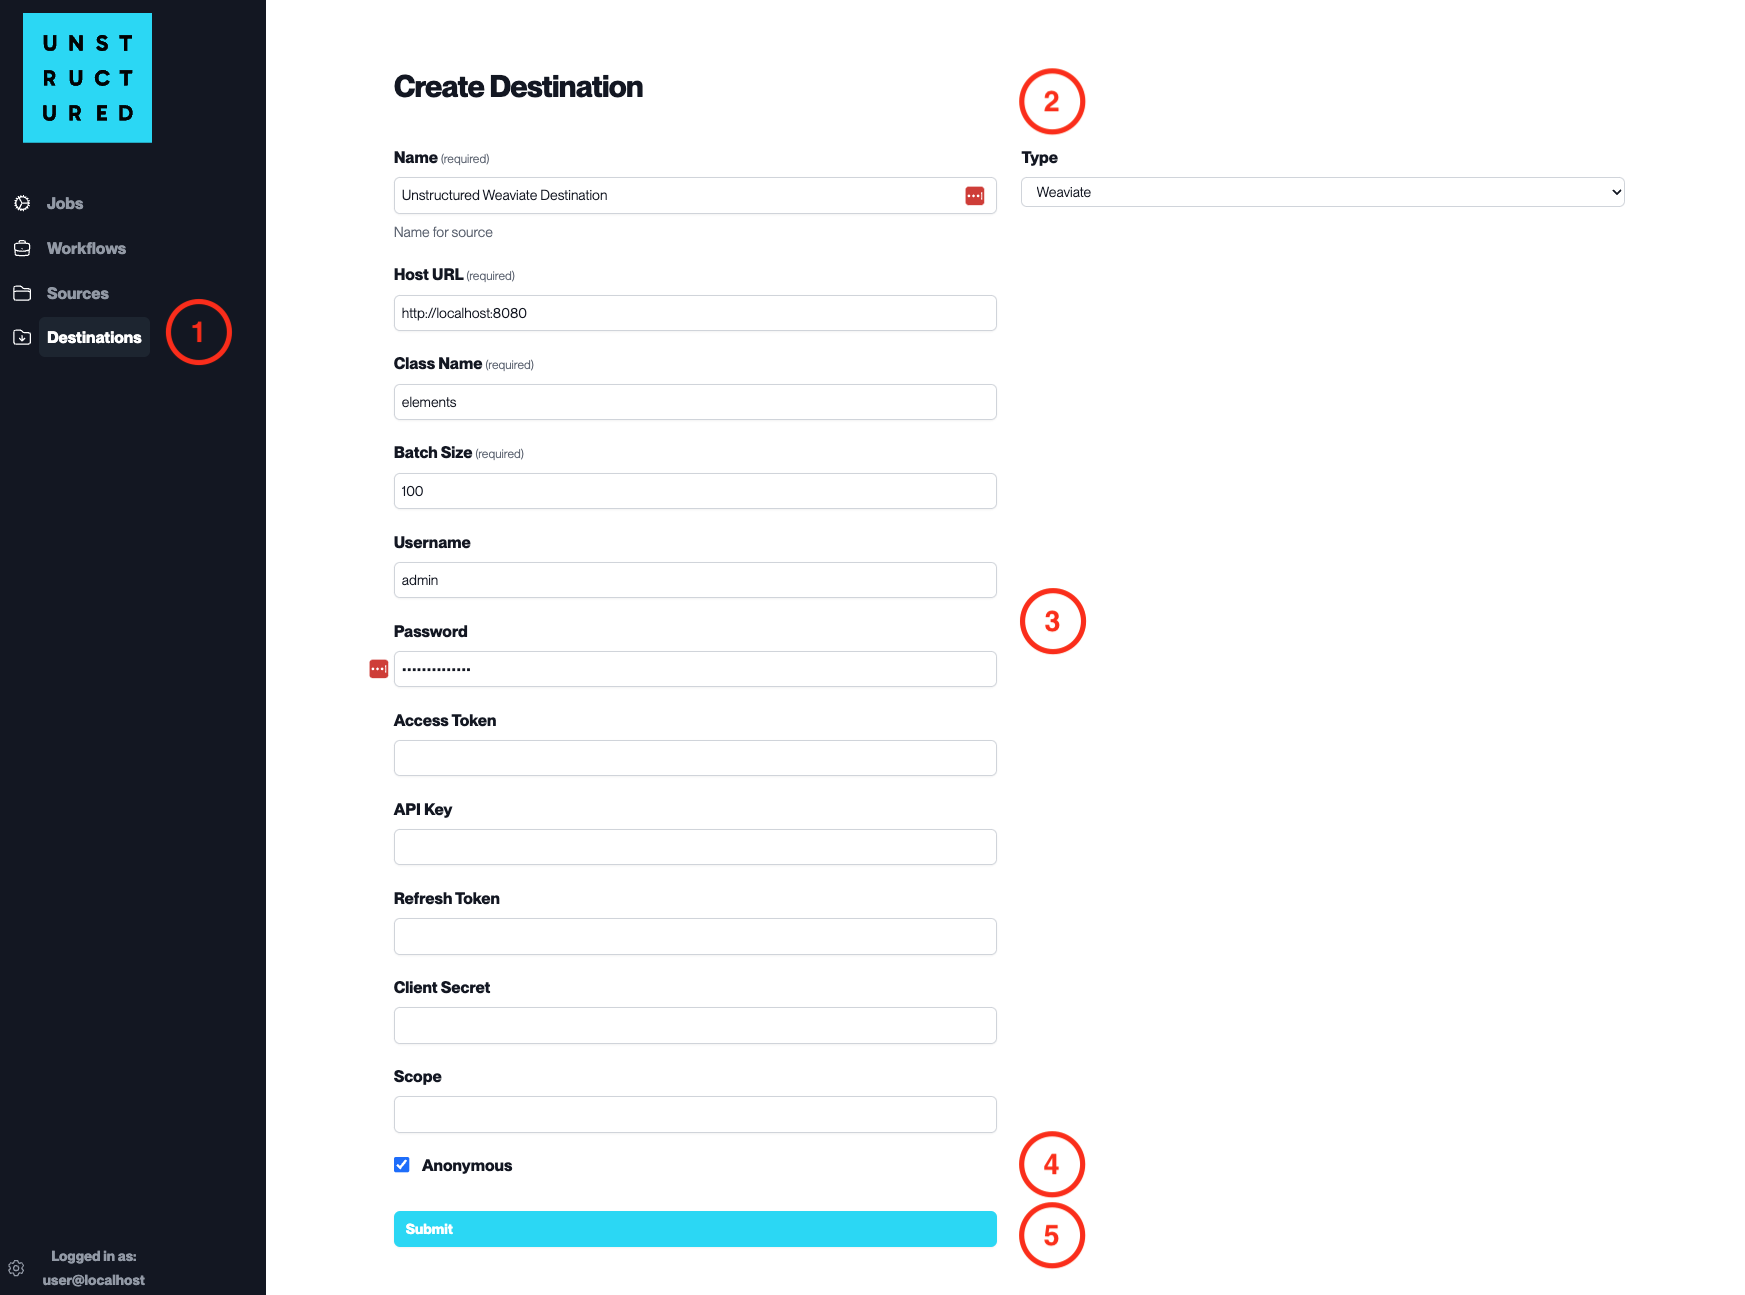
- Access the Create Destination Page. Navigate to the “Destinations” section within the platform’s side navigation menu and click on “New Destination” to initiate the setup of a new destination for your processed data.
-
Select Destination Type. Select Weaviate destination connector from the
Typedropdown menu. - Configure Destination Details
-
Name(required): Assign a descriptive name to the new destination connector. -
Host URL(required): Enter the URL of the Weaviate instance. -
Class Name(required): Specify the class name within Weaviate where data will be stored. -
Batch Size(required): Define the number of records the platform will send in a single batch. -
Username: Provide the username if authentication is required. -
Password: Enter the password corresponding to the username. -
Access Token,API Key,Refresh Token,Client Secret: Provide these details if needed for the Weaviate authentication process. -
Scope: Specify the scope if applicable for OAuth.
- Additional Settings
- Check
Anonymousif you are connecting without authentication.
- Submit. Review all the details entered to ensure accuracy. Click ‘Submit’ to finalize the creation of the Destination Connector. The newly completed Weaviate connector will be listed on the Destinations dashboard.